Preparing a memorial photo for a funeral or service
Published · 6 min read
A memorial photo has to work on paper and on a screen at very short notice. The quickest path is: pick the sharpest, clearest picture you have of the person's face; capture it once at the highest quality you can; repair fading, scratches and small creases on a digital copy; then size that one copy for the enlargement, the slideshow and any smaller keepsakes. The original print stays untouched. Most of it can be done in an evening if you have a phone, a flat surface and a window.
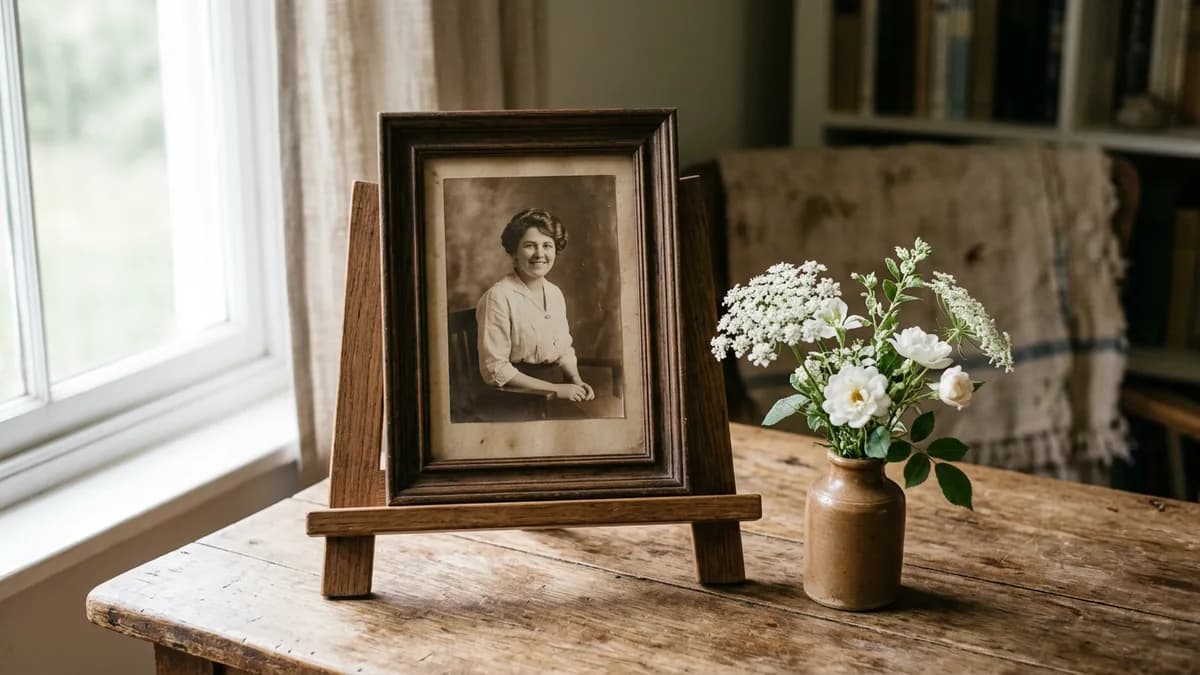
Choose the photo
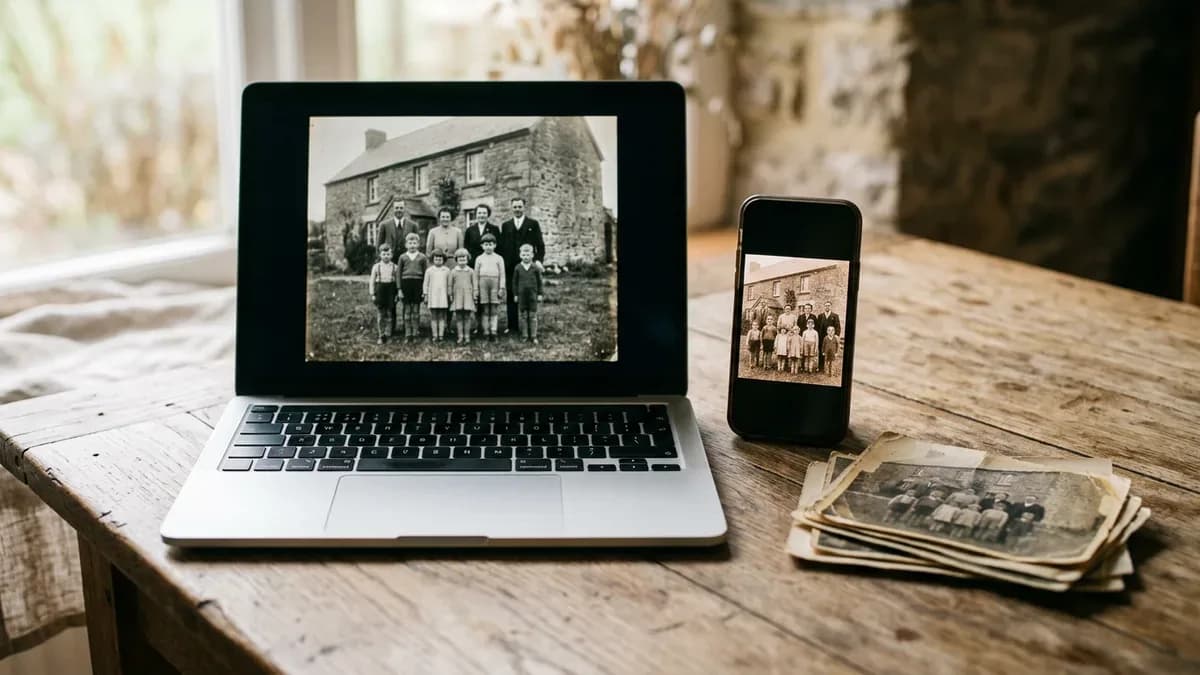
The right picture is almost always the one the family already loves — the face everyone recognises, taken on an ordinary day. The practical questions are different from the emotional ones. Look at a few candidates side by side on a laptop or tablet and judge each one on three things.
- Face. The eyes are open, in focus, and the expression is one the family wants remembered. A gentle, natural look reads better at a large size than a wide staged smile.
- Light. Even light on the face, no harsh shadow across one eye, no deep squint into the sun. Backlight (a bright window behind the head) is the hardest to fix.
- Size on the frame. The head and shoulders fill a good part of the picture. A tiny face in a group shot can be cropped, but every crop throws pixels away.
If two photos are close, pick the sharper one. A soft, blurry original can be gently sharpened and tidied, but detail that was never captured cannot be invented without changing the person's face.
Tip: A phone screenshot of a social-media picture is usually the worst version of a photo you own somewhere else. Ask the family first — the full-size original is often in someone's camera roll or on an old laptop.
Capture a good copy
If the photo is already digital, copy the full-resolution file off the phone or camera — not a messaging-app version, which is heavily compressed. If it is a print, you have two options.
- A flatbed scanner at 600 dpi for a standard print, saved as TIFF or high-quality JPEG. This is the gentlest option for an old print and the best for enlargements.
- A phone, held straight above the print in soft daylight away from direct sun. Our guide to scanning old photos with a phone walks through light, angle and apps step by step.
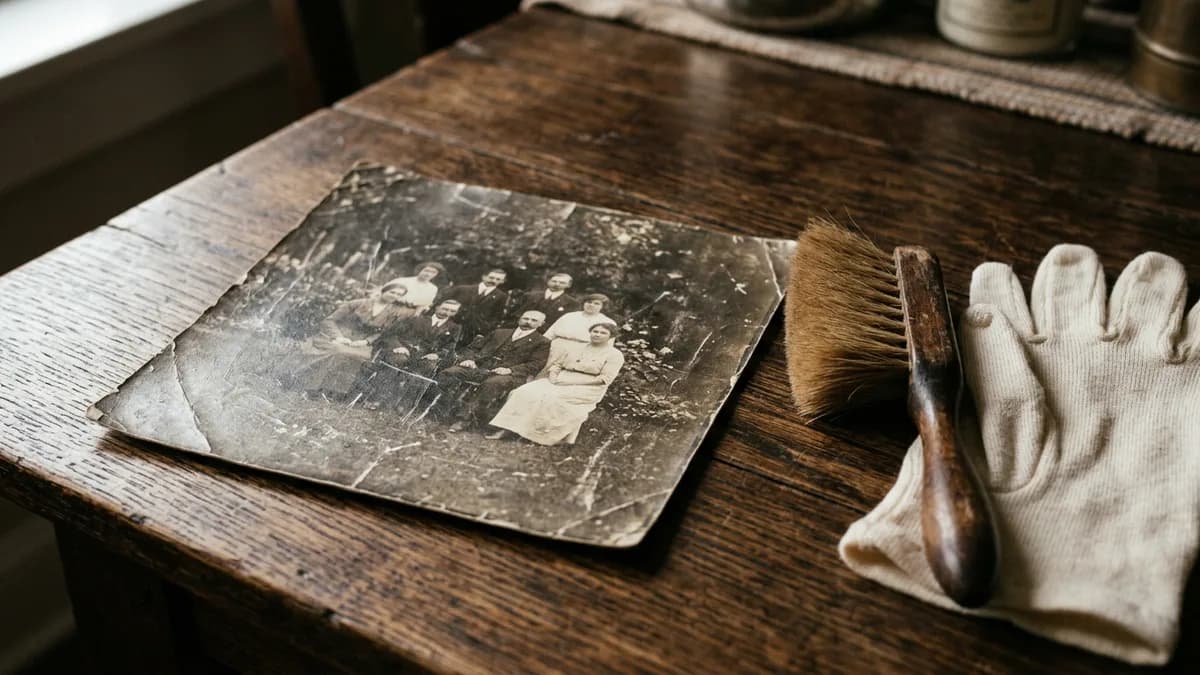
Handle the print by its edges with clean, dry hands and keep it off the kitchen table — the Library of Congress and NEDCC both recommend a clean, flat work surface and holding photographs by the edges to avoid fingerprints on the image side. Keep the original flat; don't bend it to fit a scanner.
Tip: Capture once, well, before you start editing. Every subsequent copy, crop or screenshot is a copy of a copy.
Repair fading, scratches and creases
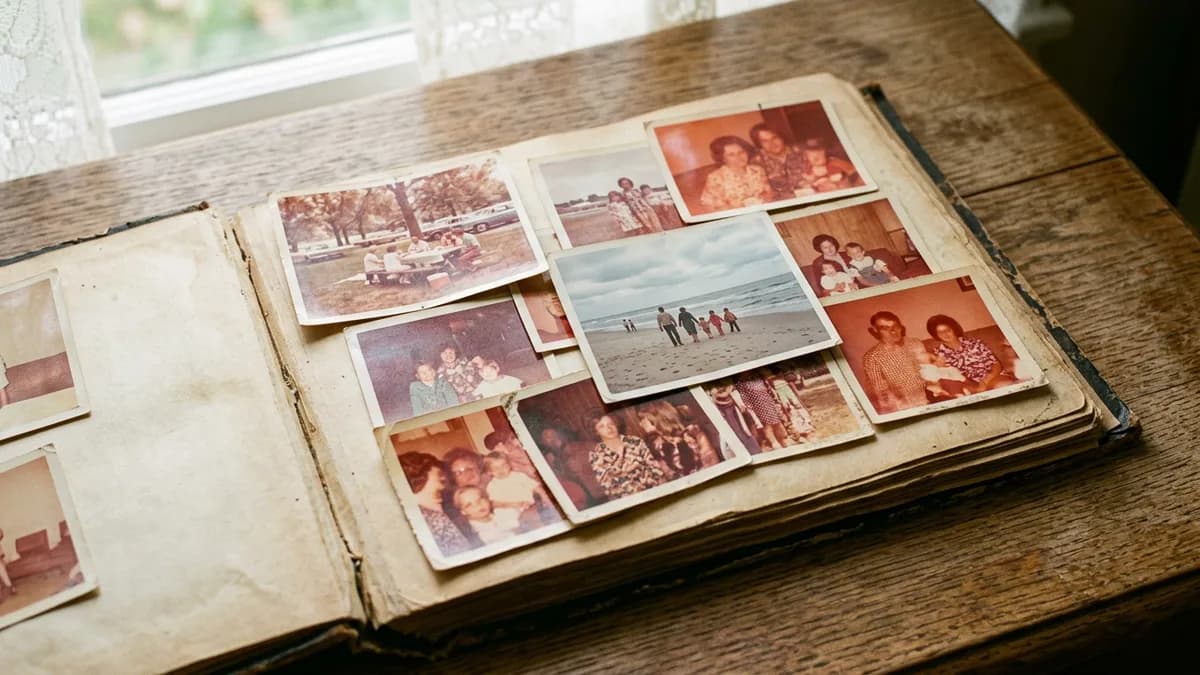
Most memorial photos pull from decades of family history, and the originals show their age: faded colour, small scratches from an album, a crease along the top edge. On a digital copy, those are routine fixes.
- Fading and yellowing. Rebuild contrast and tone on a copy — never on the original print. See how to fix a faded photo for the step-by-step.
- Scratches and dust. Remove them from a clean scan rather than from a reshoot — a scan picks up less reflection. How to remove scratches covers the healing-brush and AI approaches.
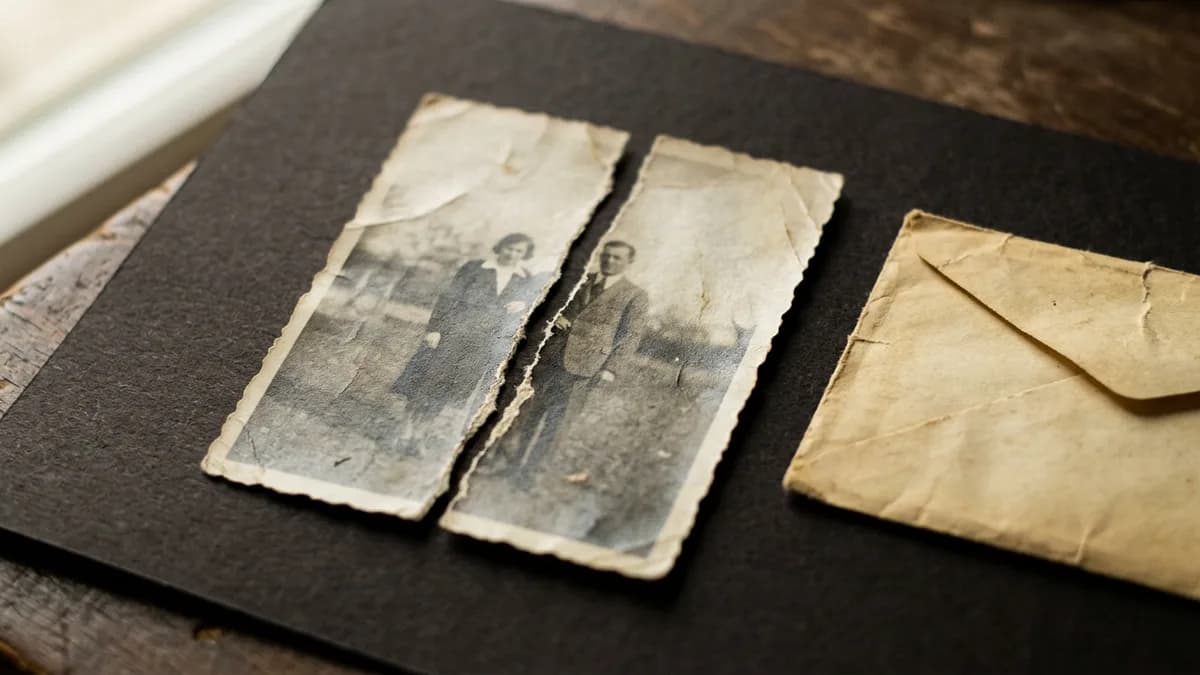
- Creases and small folds. Flatten the print safely under books and remove the crease line from the copy. How to fix a creased photo explains why the line stays on the paper and how to lose it on the file.
- Black and white or colour. If the family wants a colour version, generate it from the restored black-and-white file and keep both. See colorize black and white photos.
CreaseFix is built for this: upload the capture, run Studio restore for a careful face-safe repair, and compare before and after with a slider. Nothing happens to the physical print — only a digital copy is edited. Keep the untouched original scan too; a conservator may want it later, and future tools will improve.
Size it for the print, slideshow and keepsakes
A memorial often needs the same face at several sizes within a day or two. Plan the sizes before you print anything.
- Easel enlargement, 8×10 or 11×14 inches. Aim for about 300 pixels per inch at the final size — so 2,400 × 3,000 pixels for 8×10 and 3,300 × 4,200 for 11×14. A clear phone photo or a 600 dpi scan of a 4×6 print usually has enough resolution; a tiny thumbnail will not.
- Larger easel, 16×20 inches. 4,800 × 6,000 pixels is the comfortable target. If your file is smaller, print at a size it supports instead of upscaling into mush.
- Slideshow at a service. Full HD (1,920 × 1,080) is enough on most screens; 4K (3,840 × 2,160) is better on a modern television. Export each photo once at the slideshow's native size.
- Keepsake cards, bookmarks, programs. 300 dpi at the final paper size; your printer will accept the same large file as the enlargement.
Finish with a crop that leaves a little room above the head and does not clip chin or shoulders. If several family members will carry a copy, print one extra of each size — a bookmark goes missing in a day.
A realistic timeline
Most families have 48 to 72 hours between loss and service. The order below fits inside a single evening and leaves room for a printer's next-day turnaround.
- Hour one: pick two or three candidates with the family and choose one.
- Hour two: scan or re-photograph the original, carefully, once. Save the raw file somewhere safe before anything else.
- Hour three: repair fading and small damage on a copy. Produce a black-and-white and an optional colour version. Compare them with the family.
- Hour four: export the sizes you need (enlargement, slideshow, keepsake) and send them to the printer and to whoever is making the slideshow.
If the print is torn, water-damaged or very fragile, start earlier and be ready to use a smaller or less-ideal face if the restore cannot be finished in time. For badly damaged originals, see restore water-damaged photos and repair a torn photo. A one-of-a-kind, flaking or brittle print belongs with a photograph conservator; a good digital copy still gets you a photo on the easel.
Questions
An 8×10 or 11×14-inch enlargement sits well on a standard easel; a 16×20 reads from the back of a larger room. Aim for about 300 pixels per inch at the final print size.
Full HD (1,920 × 1,080) is enough on most displays; 4K (3,840 × 2,160) is better on a modern television. Export each image at the slideshow's native size.
A single portrait with routine damage — fading, light scratches, a small crease — can be captured and restored in an evening. Severe damage or very large group photos take longer.
No. Capture it, keep it flat and safe, and edit a digital copy. A conservator can treat a fragile original later; the digital copy covers the service.
Both are fine; it is a family choice. Restore the black-and-white file first, then generate a colour version from it and keep both for the family.