How to remove scratches and dust from old photos
Published · 5 min read
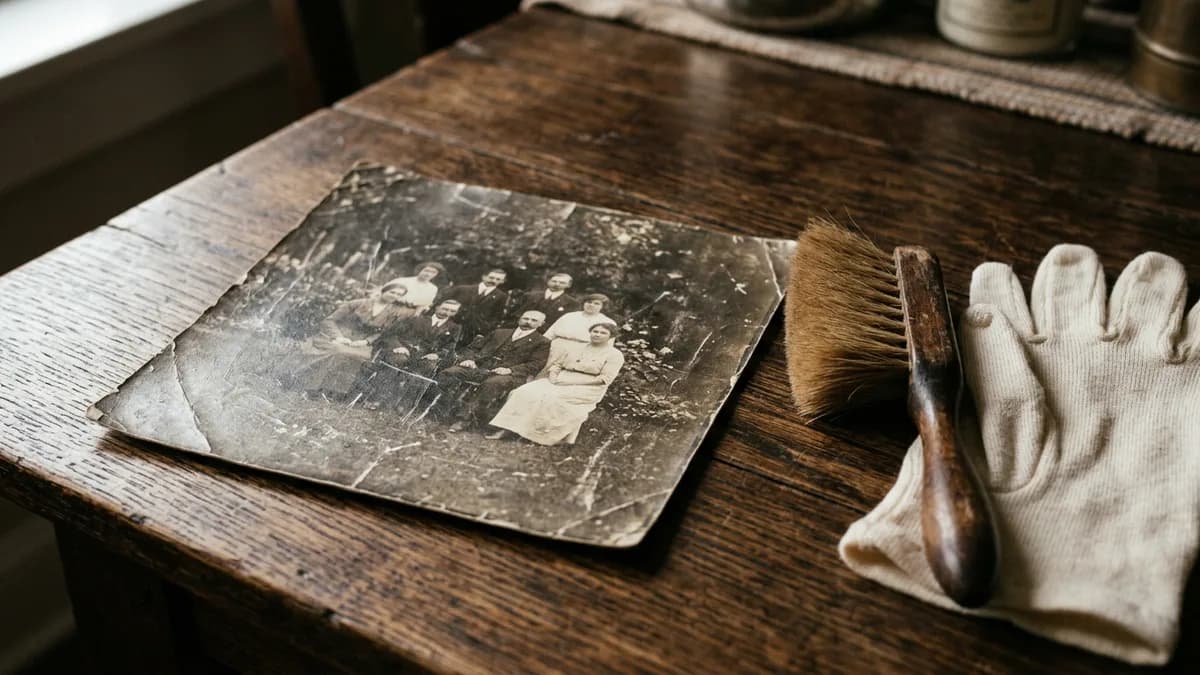
A scratch on a photo is a thin cut in the image layer, not just a mark on the surface. You can brush loose dust off carefully and keep more scratches from appearing, but the scratch lines themselves only disappear on a digital copy — by retouching or AI restoration of a good photo of the print. Treat the original gently and fix the copy.
Why a scratch stays visible
A photographic print is a sheet of paper with a very thin image layer on top (gelatin on most prints, albumen on nineteenth-century ones). A scratch is a shallow cut that lifts or removes a sliver of that layer. Light bounces off the fresh, bare edges differently from the rest of the print, so a scratch usually shows up as a bright white hairline, sometimes with a dark edge where the layer rolled up.
Nothing you do on the paper itself puts that lost sliver back. Dust is different — most of it is just resting on the surface and comes off safely. So the realistic goal is a clean, stable original plus a clean digital copy you can print, frame and share.
Clean dust the safe way
Dust alone is cosmetic, but trying to wipe it off is what causes most new scratches. Grit under the cloth drags across the image layer and leaves fine parallel lines you can see once it's lit from the side.
- Work on a clean, dry desk, away from food and drink. Hold the print by its edges with clean, dry hands or clean nitrile or cotton gloves — fingerprints leave stains on photographs that are hard to remove.
- Puff loose dust off with a hand air bulb (the kind sold for camera lenses). Do not use canned air — it can shoot a jet of propellant onto the print.
- Only if dust is still stuck, pass a very soft, clean brush (a wide, natural-hair watercolor brush or a dedicated conservation brush) once across the surface, going in one direction. Even a soft brush can scratch, so use the lightest touch and keep it clean.
- Never use a cloth, a tissue, a baby wipe, water, alcohol or any household cleaner on the image side. Water softens the gelatin layer and solvents can bleach or dissolve it.
Tip: If a print has mold, insects or anything flaking off the surface, stop and leave it alone — brushing spreads mold spores and loose pieces, and the damage is hard to reverse. A photograph conservator can treat it safely.
Photograph it so scratches show less
How you capture the print decides how obvious the scratches look. Hard, side-lit light rakes across every nick and makes it look deeper; soft, even light fills the cut and most hairlines almost disappear before you edit anything.
- Use diffused daylight from a window, out of direct sun. Turn off ceiling lamps — they add glare and a color cast.
- Hold the phone straight above the print so its edges stay parallel to the frame; tap to focus on a face.
- On glossy prints, tilt the print a little until the window reflection disappears.
- Shoot a second frame at a different angle. Scratches move with the light; dust specks don't, so comparing frames tells you which is which.
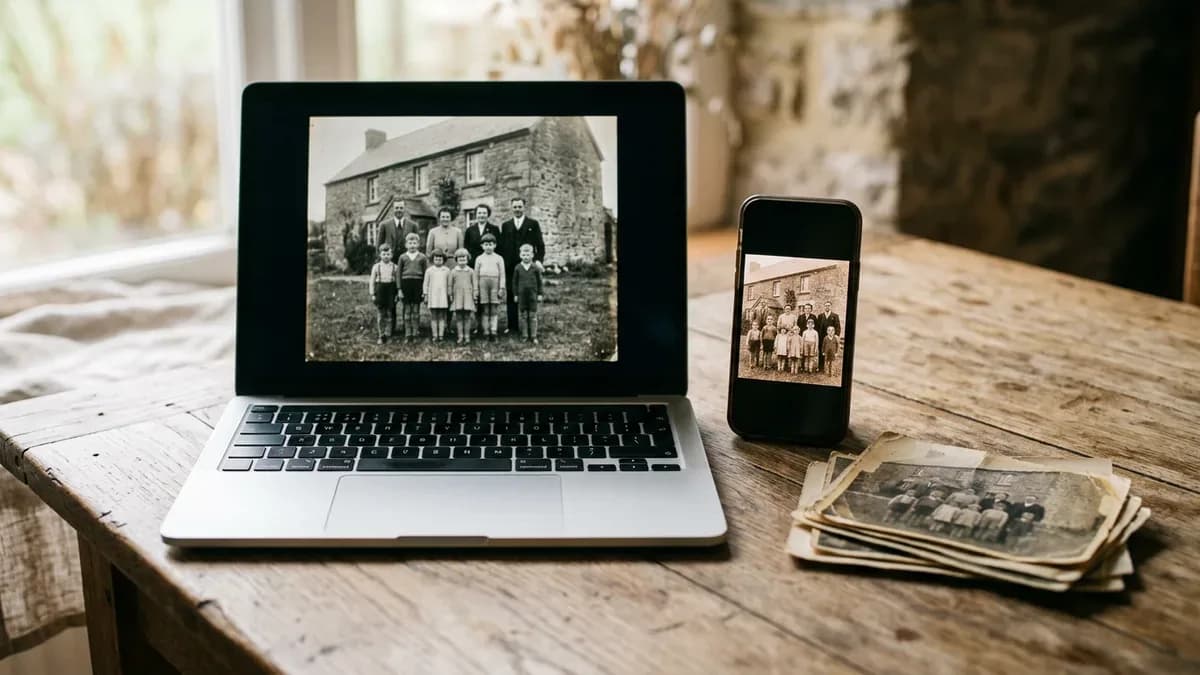
Our guide to scanning old photos with a phone goes through light, angle and apps step by step.
Remove scratches and dust from the digital copy
Once you have a good copy, there are two ways to clean it up.
- Retouch it yourself. A healing or clone tool (Photoshop, GIMP, or the Healing tool in Snapseed on a phone) copies clean texture over each line and speck. For dust it's quick — zoom in and tap. For scratches it's slower; work in short strokes along the line and sample from both sides. It gets fiddly where a scratch crosses a face or an eye.
- Use AI restoration. A restoration model recognises scratch and dust patterns and rebuilds the detail underneath from both sides of the line, together with creases, fading and stains. It is fastest on photos with many fine scratches, dust storms across the sky, or scratches that cross skin and hair.
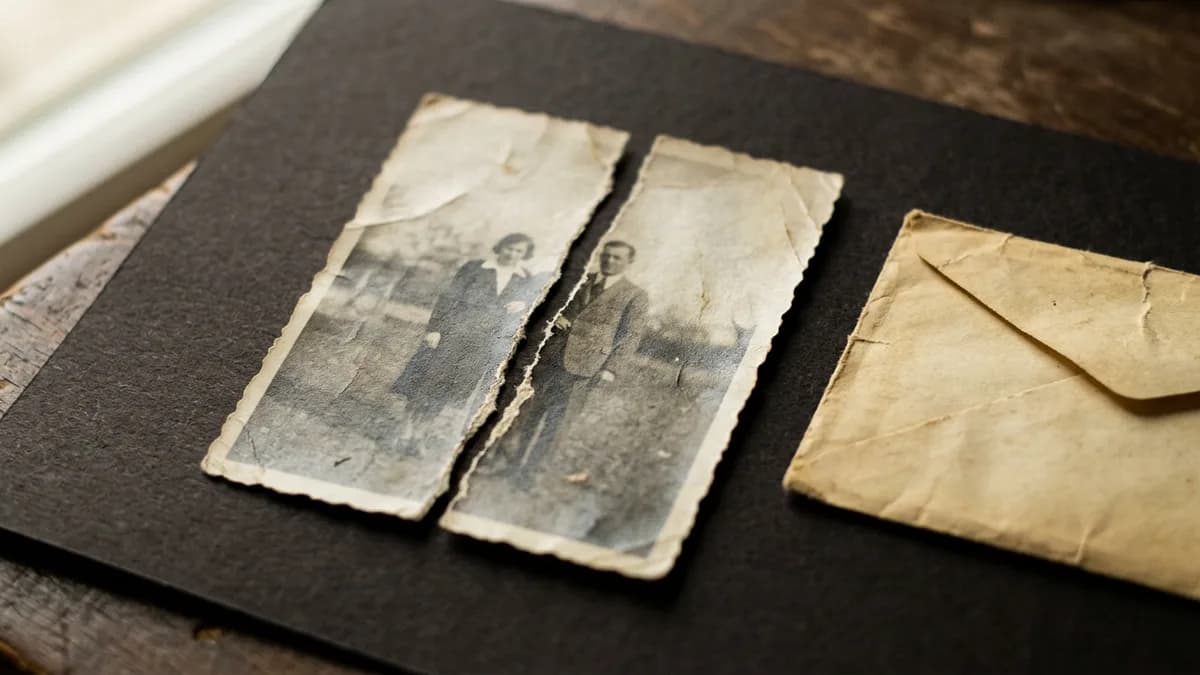
This is what CreaseFix was built for: upload the phone photo, choose Restore or Restore & colorize, and compare before and after with a slider. If the print is also torn, see how to repair a torn photo.
Tip: Check faces at full size, especially the eyes. Where a scratch crosses a pupil or lip, that detail has to be reconstructed from what's around it. Compare the result with the original and keep both.
When to take it to a professional
- The scratch is deep and the image layer is lifting or flaking around it.
- The photo is one of a kind — the only picture of a person, or an antique.
- It isn't a paper print: tintypes, daguerreotypes, ambrotypes and glass plates have fragile coatings and should not be brushed or wiped at home.
A conservator treats the original; a digital copy — yours or theirs — is still the easiest way to get a clean picture to print and share.
Questions
Not from the print itself — a scratch is a crack in the image layer and stays visible. The scratch line can be removed from a digital copy by retouching or AI restoration.
Puff loose dust off with a hand air bulb (not canned air). If anything is stuck, pass a very soft, clean brush once in one direction with the lightest touch. Never use a cloth, water or household cleaner on the image side.
No. Even a soft cloth drags grit across the image layer and leaves new fine scratches. Hold the print by its edges, use clean nitrile or cotton gloves, and clean only with an air bulb or a soft brush.
Yes, for most prints. A restoration model recognises scratch and dust patterns and rebuilds the detail underneath. Faces still need a quick check — compare the result with the original and keep both.