How to repair a torn or ripped photo
Updated · 6 min read
Don't tape it. Keep every piece together in a clean envelope, make a digital copy with the pieces laid edge to edge, and repair the tear on the copy. A physical repair that lasts is a job for a photograph conservator, who uses reversible materials — never household tape or glue.
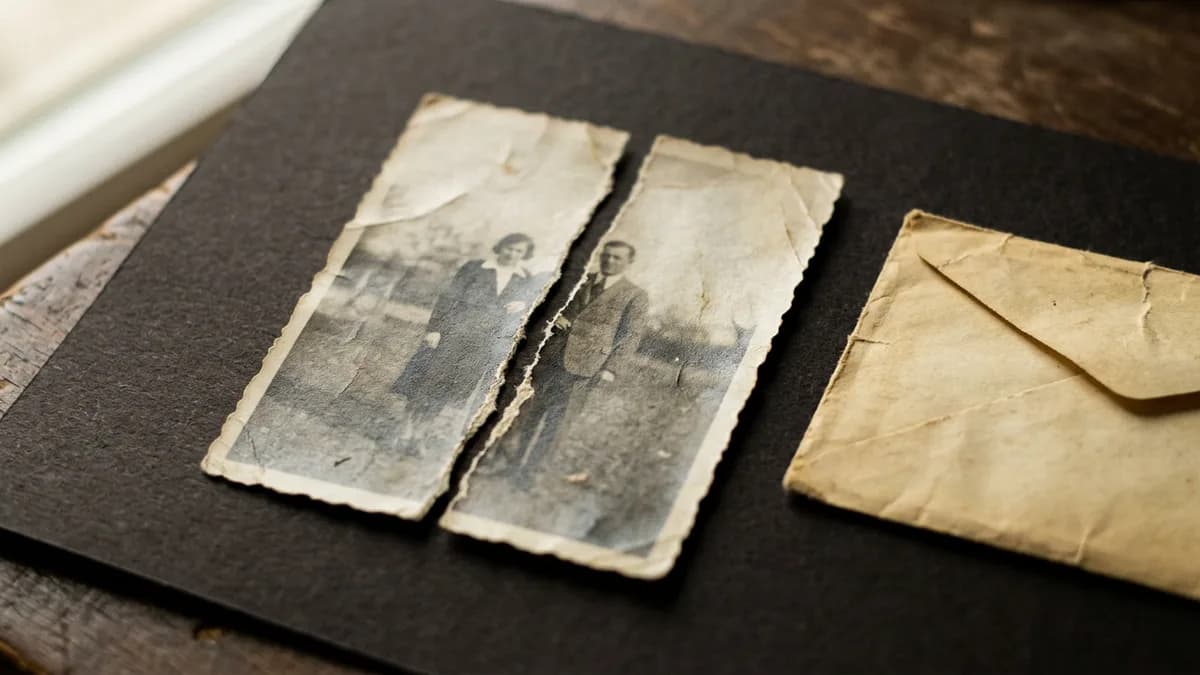
First, what not to do
- No sticky tape, glue or staples — on the front or the back. The Library of Congress advises against any self-adhesive tape or glue on photographs: adhesives yellow, stain and pull the image away when someone tries to remove them later.
- Don't trim ragged edges to make them fit. The torn fibres carry image detail that helps rejoin the picture.
- Don't press the pieces under heavy weight while they overlap — the edges can crack further.
Keep the pieces safe
Put all the pieces, including tiny corners, flat in a clean paper envelope or folder and write what it is on the outside. Handle them by the edges. If the photo is creased as well as torn, our guide to fixing creased photos covers flattening.
Copy the pieces so they can be rejoined
- Lay the pieces on a dark, matte surface, image side up.
- Push the edges together as closely as they will go without overlapping.
- If a piece curls, a clean sheet of glass from a picture frame laid on top for a moment holds everything flat. Take it off straight after.
- Photograph from directly above in soft daylight, or scan the pieces together on a flatbed scanner. Our phone scanning guide has the details on light and angle.
Tip: Copy each large piece separately as well. If the combined shot isn't perfectly aligned, the separate shots help to rebuild the seam.
Repair the tear on the copy
A clean tear through a background or clothing is straightforward: a healing or clone tool along the line, sampling from both sides. Where the tear crosses a face, or a corner is missing, the missing part has to be reconstructed.
AI restoration rejoins the seam and rebuilds small missing areas from the surrounding detail, together with creases, scratches and fading. In CreaseFix you upload the photo of the pieces and choose Restore. Small missing corners come back convincingly; a large missing part of a face is a reconstruction, not a recovery — compare it with the original and keep both.
When to see a conservator
If the original itself matters — a one-of-a-kind portrait, an antique print, or a photo that will be handed down — a photograph conservator can rejoin the tear with Japanese tissue and an adhesive that can be removed again later. The American Institute for Conservation has a directory of conservators.
Questions
Yes. The original can be rejoined by a conservator, and a digital copy can be repaired so the tear disappears; the repaired copy can be printed.
No. Tape and glue yellow, stain and pull the image away when removed. Keep the pieces in an envelope until they are copied or professionally repaired.
On a digital copy, a small missing corner can be rebuilt from the surrounding detail. A large missing part, especially of a face, can only be reconstructed, not recovered.
Yes, from a photo or scan of the pieces laid edge to edge. It rejoins the seam and rebuilds small gaps; check faces at full size and keep the original.