How to restore faded and yellowed photos
Updated · 6 min read
Fading can't be reversed on the print itself — the dyes or silver that formed the image have changed for good. What you can do is stop it getting worse by keeping prints cool, dry and out of the light, and restore contrast and color on a digital copy. That takes minutes and never touches the original.
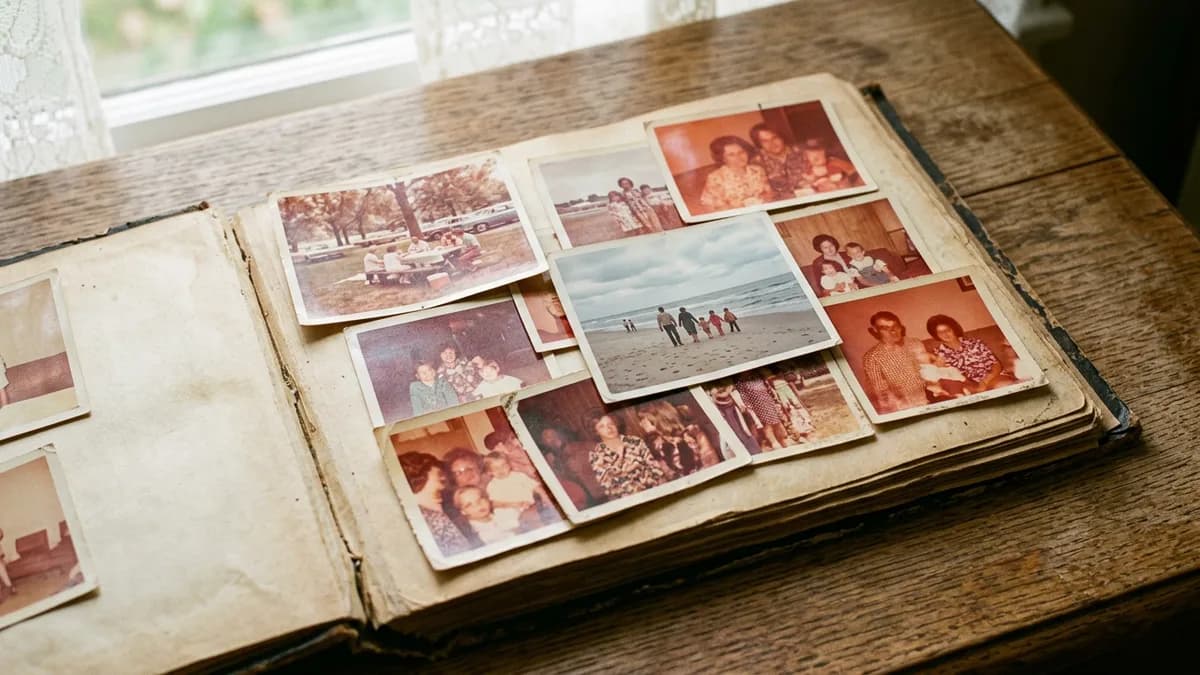
Why photos fade, turn red or yellow
Light, heat and humidity slowly break down the image. Color prints are made of three dyes, and they don't fade at the same speed — when one goes first, the whole picture drifts toward orange, red or magenta. That is the typical look of a family snapshot from the 1970s.
Black-and-white prints fade more slowly but turn yellow, lose contrast or develop a shiny, mirror-like haze near the edges. A lot of that damage comes from the materials around the photo: the Library of Congress lists fading, yellowing and silver mirroring among the damage caused by storage materials that aren't photo-safe.
Stop it getting worse
- Keep originals out of direct sun and bright display. Frame a print of the restored copy instead of the original.
- Store them somewhere cool, dry and stable — a closet inside the house, not the attic, garage or basement. The Library of Congress recommends 30–50% relative humidity and 70°F (21°C) or below.
- Use photo-safe boxes, envelopes and sleeves: look for materials that pass the Photographic Activity Test (PAT).
- Take photos out of sticky "magnetic" albums if they come away easily. If they resist, leave them and photograph them on the page — see our guide to scanning old photos with a phone.
Tip: Color photos and negatives last much longer when they are cold. If you have a box of 1970s–80s prints you rarely look at, digitize them now and store the originals in the coolest dry place you have.
Bring the color back on a copy
Start with a good copy: soft daylight, no flash, phone held straight above the print. Then you have three options, from quick to precise.
- Phone editor. Auto-enhance plus a warmth or white-balance correction removes a mild cast in seconds. It tends to overdo contrast on faces.
- Levels or curves per color channel (Photoshop, GIMP, Lightroom). Setting the darkest and lightest point of each channel removes even a strong red cast. Precise, but it takes practice.
- AI restoration. It rebalances color and contrast together with scratches, creases and stains, and recovers soft detail in faces.
In CreaseFix, choose Restore to keep the photo's own tones, or Restore & colorize to rebuild natural color from scratch — useful when a color print has faded almost to brown. Our guide to colorizing black-and-white photos explains what to expect from the colors.
When the image is almost gone
Even a very pale print usually still holds detail. Copy it in even light, slightly underexposed rather than bright, and raise the contrast on the copy. Highlights that have faded to blank paper cannot come back; restoration has to reconstruct them, so check faces closely and keep the original next to the result.
Questions
Not on the print itself, but a digital copy can be restored: contrast, color balance and soft detail come back, and you can print the result.
Color prints are made of three dyes that fade at different speeds. When one fades first, the picture drifts toward red, orange or magenta.
Cool, dry and dark: inside the house rather than an attic or basement, in photo-safe (PAT-tested) boxes or sleeves, and out of sticky magnetic albums.
If the colors are still there under the cast, Restore rebalances them. If the print has faded almost to brown, Restore & colorize rebuilds natural color.